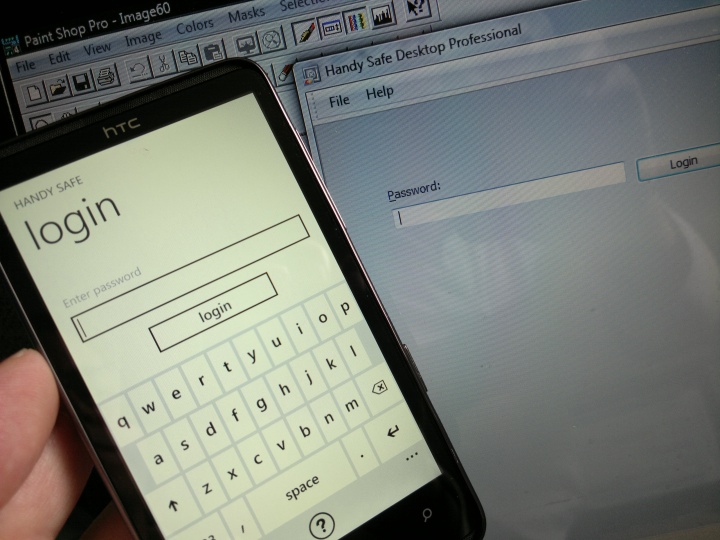
There are two schools of thought at this point. One is to do it the hard way - export all of your information from Handy Safe Pro in as structured a form as possible, but in what is essentially plain text format, and then spend a weekend massaging this (e.g. via XML) and importing it into one of the many cross-platform solutions, eventually syncing data through the cloud to a new Windows Phone device. Great for the soul, not so good for your diary.
Or you can do it the easy way, which takes all of ten minutes, thanks to the fact that, hot off the press, Epocware's Handy Safe (Pro) is now available for Windows Phone too, for a pound or so in the Windows Phone Marketplace. Which means you can take your data, as-is, with you without having to do any massaging or exporting whatsoever.
Moreover, the Handy Safe Desktop for Windows (note that the Mac version's currently - as I write this - woefully out of date) has been updated to include sync methods for multiple platforms, still including Symbian and now also Windows Phone too.
You can guess that what's coming is going to be fairly straightforward, but I wanted to document it anyway, for the legions of Symbian users like me who are thinking of experimenting with Nokia's chosen future platform but who aren't willing to go without their most important information.
1. Update Handy Safe Desktop
Make sure you've got the very latest Handy Safe Desktop - you'll need it for the Windows Phone sync components!
2. Sync your Symbian smartphone with Handy Safe Desktop
You'll have been doing this for years, of course. Initiate it on the Desktop version and make sure that all your latest phone-entered secret information is bang up to date on the Desktop as well. And vice-versa. As usual, it's a true sync.
3. Add the 'WP7 sync service' to the Handy Safe Desktop
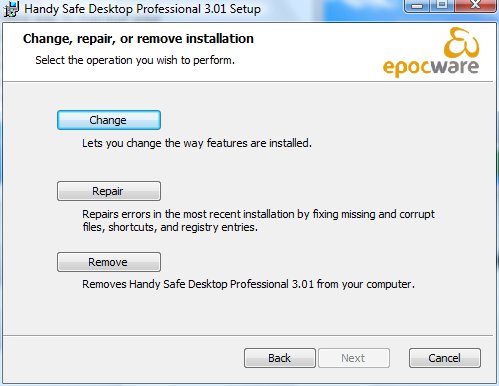
No, I'm not sure why this step is necessary either and why 'WP7 sync service' isn't installed from the start. Maybe there's an extra Zune Desktop registration step under the hood. Anyway, close Handy Safe Desktop and head for 'Start | Programs | Epocware | Change or Uninstall Handy Safe Desktop'. Choose to 'Change' the installation.
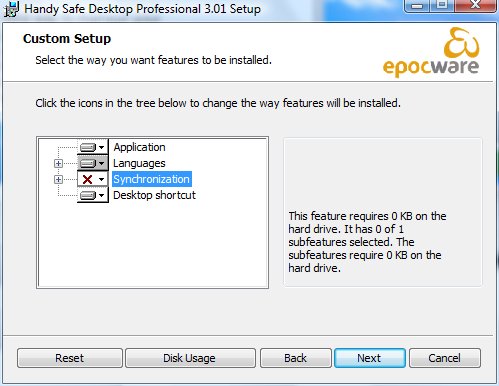
Once on-screen, click on the '+' sign besides 'Synchronization' and you'll see that 'WP7 sync service' has a cross besides it.
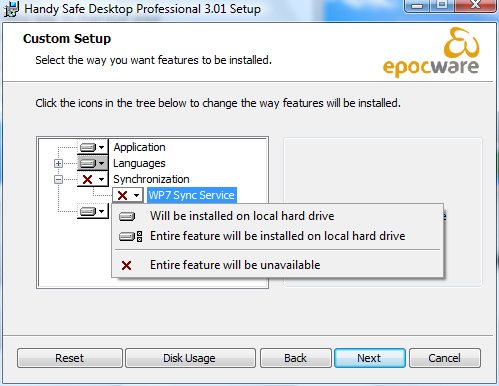
Click on the cross and choose 'Entire feature will be installed', then click on 'Next' and complete the installation in the usual way.
The paranoid among you (like me) will want to restart Windows too - just in case. Keeps things clean in terms of what gets loaded inside the byzantine depths of Windows.
4. Install 'Handy Safe' on the phone
Go into the Windows Phone Marketplace and find 'Handy Safe' and buy it on your phone. It's only a pound or so. Once installed, you can find it in the main alphabetical applications list on the device.
5. Application password
Start Handy Safe on your phone and a new database will be created. Use the same PIN/password as on the desktop, just in case. Although, in theory, you can have different passwords at each end, it makes things so much simpler to just have the one that's common across all your Handy Safe instances.
Don't worry about adding any data for now.
6. Find your PC's IP address
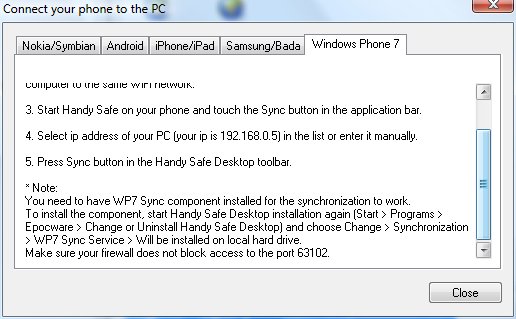
The sync with Windows Phone will be wireless and done over Wi-fi. In theory, it can be done using USB but I haven't managed this yet. In Handy Safe Pro Desktop, click on 'Sync' and then on the 'Windows Phone 7' tab. In this list of sync instructions/help, you'll see your PC's IP address (typically 192.168.0.x), make a note of this.
7. Sync mode
In Handy Safe on the phone, tap on the sync icon in the toolbar (the icon with the circular arrows).
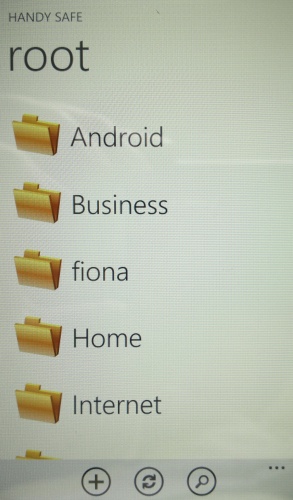
(Tap through the informational message after checking the box so that the message isn't shown each time.)
8. Add your PC's IP address
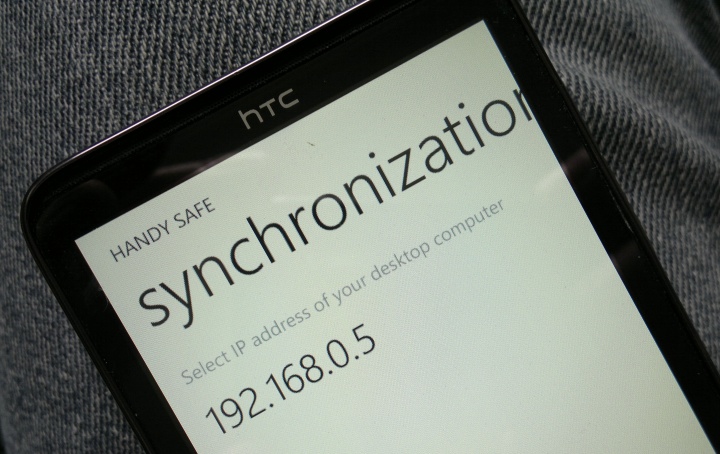
The list of sync IP addresses will be empty, so tap on '+' and enter the IP address that you noted above.
9. Start the sync from the phone end
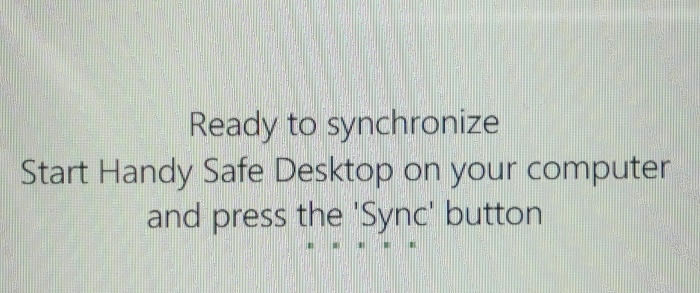
Tap on the saved IP address to initiate your first sync from this phone to Handy Safe Pro Desktop. You'll see this message, just follow the instructions.
10. Start the sync from the desktop end
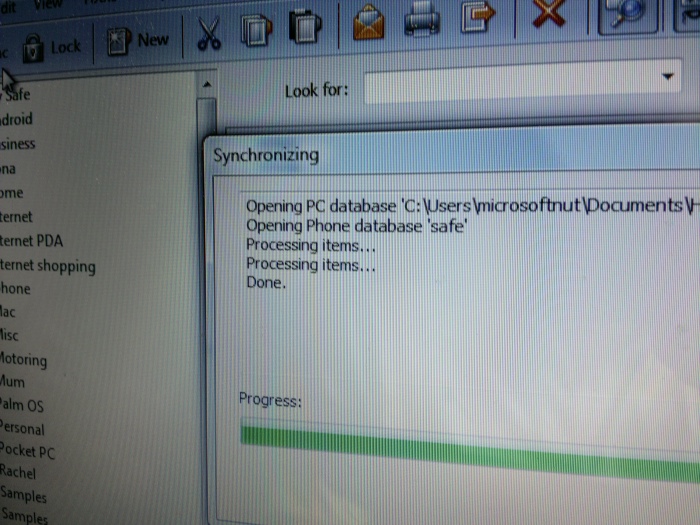
Click on 'Sync' and you'll see the usual database copy/sync/copy procedure, via status messages.
11. Check it worked!
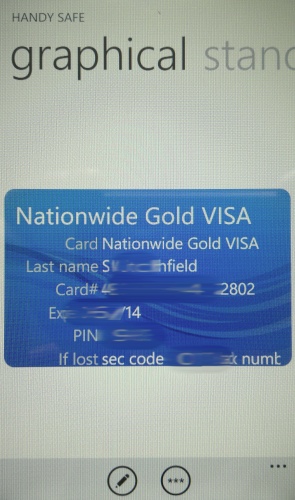
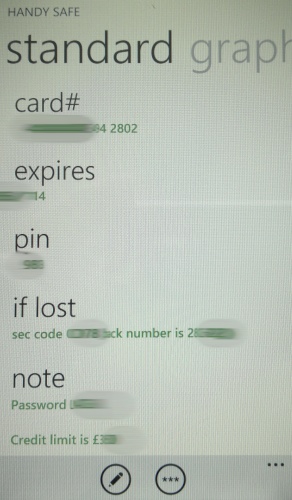
Check all your data is now on your Windows Phone, including notes and other specialist fields. Note that there are two display modes in the application: 'graphical' and 'standard'. If you see the first, which is pretty but only shows part of your data, don't panic. Swipe sideways to the standard view and you'll see the text-only view that you've been used to seeing on Symbian.
This being a true entry-level sync system, it's perfectly practical to run your new Windows Phone in parallel with your older Symbian device if needed. You can change Handy Safe Pro entries on either, or on the desktop, and everything will be synced and merged correctly.
There, that wasn't so hard, was it?
It's worth noting that this initial release of Handy Safe for Windows Phone isn't that well optimised for the OS - it's a bit laggy in terms of opening the database (several seconds) and also opening each entry when needed. Still, your data is safe - and secure - and that's the important thing. Hopefully Epocware can speed things up in subsequent updates to the application (so watch Marketplace on the phone - you'll be notified in the usual Windows Phone way).
Steve Litchfield, 17th October 2011
