We've had computer scanners for decades, of course. You saw something you want to preserve in some way (digitally), you laid it on the scanner bed and then waited a minute while it got scanned into a PC. You then worried about what to do with it in terms of processing, cropping and sharing or archiving. It's a bit of a hassle, if we're honest, which is why most people have never done much scanning.
And it's why I rarely bother these days. Even in the office it's so much easier to use my smartphone camera and simply take a picture of whatever it is. Of course, I tend to equip myself with the very best in smartphone imaging: Nokia 808 PureView and then Lumia 1020, with big sensors, high megapixel counts, and so on - I doubt you'd get very good results with the average phone camera.
Now, if all this is old hat to you then move on, nothing to see - but I thought a real world case study might fire the imagination of some readers here - especially if they have one of the two big PureView cameras covered on the All About sites....
I was at the ancestral home(!) and was shown old photos of my parents, on holiday 34 years ago, when they were younger than I am now. Particularly interesting in that these had been unearthed from a loft and I'd never seen them before. Now, we're not talking massive photo quality from the originals, since they were taken on a '126' film camera, with fixed focus lens, and then printed and stored for the best part of half a century. But they hadn't been exposed to light, at least, so there was still some contrast and detail left. Absolutely fascinating for me.
I found numerous gems that I wanted copies of, but there was no scanner in the house and besides the photos were all glued into a very bulky 1980's paper album, which would have made flat bed scanning tricky, to say the least.
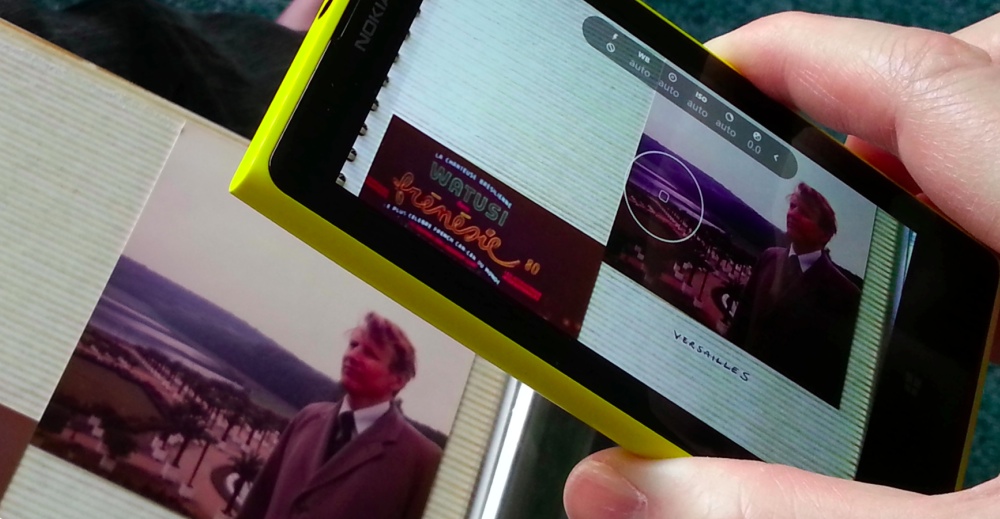
Which is where the smartphone camera comes in, of course. Why on earth couldn't I just take a photo of the err.... photo? After all, 41 megapixels (in my case, in the 1020 or 808) should be more than enough resolution, even after oversampling (to reduce noise) and cropping, as needed. A little care was needed certainly, which is why I've put together some tips below.

Here then was my process:
- Place the album near a well lit window, i.e. as much natural light as possible.
- Start up the camera application (Nokia Camera, in this case, on the 1020), set the phone camera flash 'off' (just in case) - illuminating a photo with a single point flash would give very uneven results.
- Position the phone camera lens over the centre of the photo at about 10cm distance and tap the appropriate face in the viewfinder - make absolutely sure that a focus lock is obtained. If in doubt, move the phone a few centimetres further away and try again.
- Take the shot with the on-screen capture icon unless the phone has OIS built-in, to avoid any camera shake.

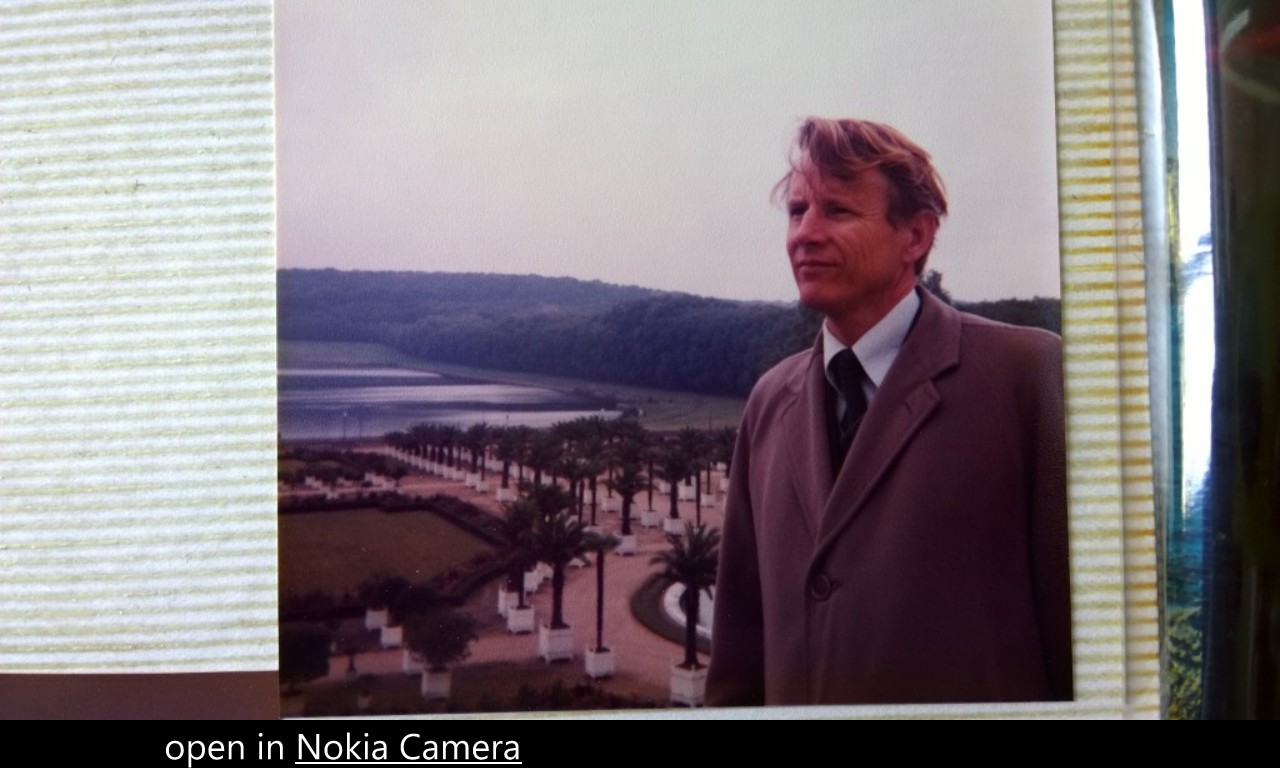
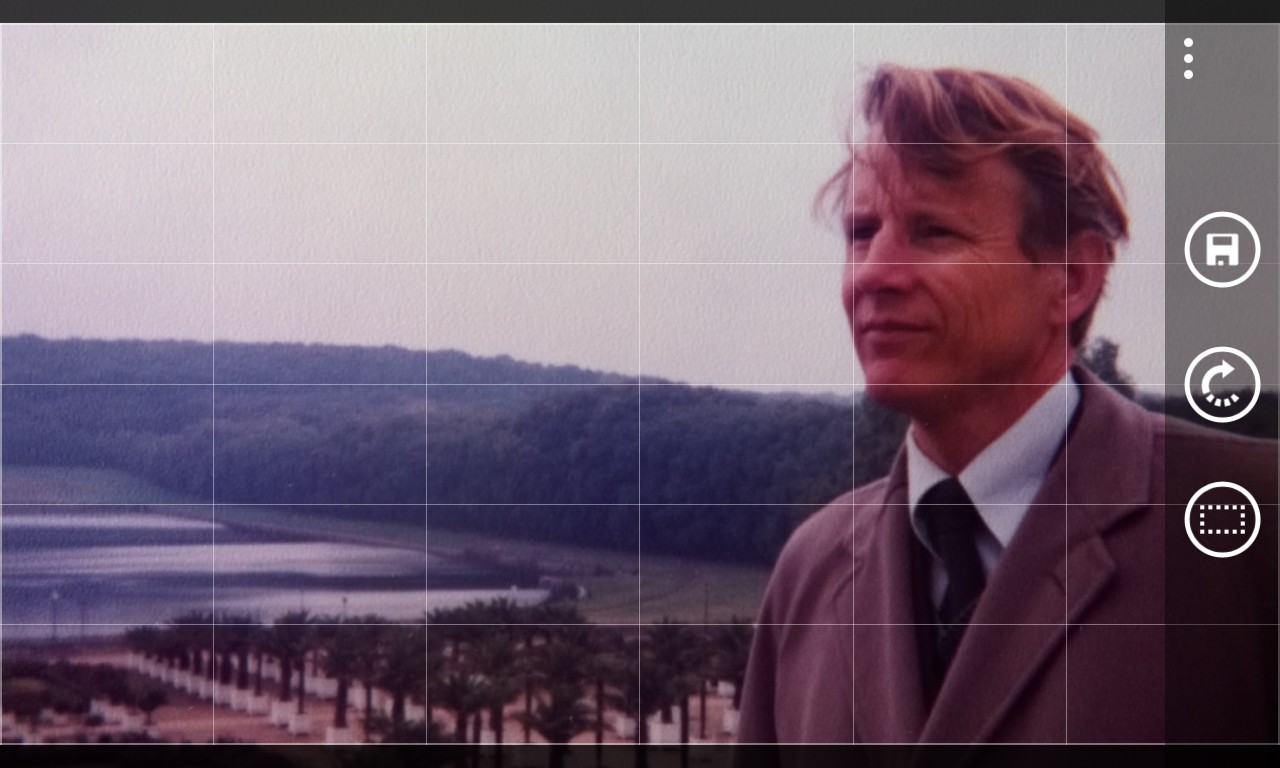
- I then cropped out the surrounding paper/carboard/whatever - a simple crop function, built into all smartphones, will do the job, but on the Lumia 1020 I could go one better, by using the 'zoom later' reframing (effectively a 'smart crop' into the underlying captured 38MP image).

- Finally, it's often necessary, with such old photo originals, to adjust other parameters of the image, correcting colour balance issues caused by any ageing process and poor original equipment. In the example here, I felt that the photograph lacked any vibrant colours of any note, that the fleshtone was off, and that an arty greyscale look would be better. Here's my dad, circa 1980 in Paris then. Handsome chap!

This stage can be done on the phone or desktop, according to which image processing tools you're most comfortable with.
___________
You get the idea, anyway. Rather cutely, the photo will end up appearing on the phone (after smart cropping, etc.) as if it had been captured as-is - for higher quality originals, causing a moment's disbelief as your 2014 smartphone appears to have just taken a photo from (in my case) 1980! Of course, the higher the original's quality and the better your smartphone camera, then the better the end result.
But I stand by the technique for getting a 34 year old 'polaroid' converted to a useable 5MP .JPG image in only a few seconds, using the ultimate all-in-one converged device that's in your pocket and always with you. And, of course, from a smartphone base, it's trivial to then directly share the results around friends and family, as needed.
Comments welcome. Have you ever used your smartphone camera for something along these lines? Have you any more tips for getting better results?
